If your well pump is running but no water is coming out, it may have lost its prime. This is one of the most common issues homeowners face, but the solution is usually straightforward—once you know how. At Shaw Pump, we often guide our customers through this process because proper priming ensures your pump runs efficiently and lasts longer.
In this guide, we’ll cover how to prime a pump for well water, explain why it’s necessary, and give practical tips to prevent future problems. Whether you’re dealing with a newly installed pump or restoring water flow after maintenance, this step-by-step guide will help you get reliable water quickly.
What Does Priming a Pump Mean?
Priming a pump means removing air from the pump and the suction line and replacing it with water. A pump cannot lift water if there’s air trapped inside it can only push water. Without priming, the pump may run dry, which can damage internal components and reduce efficiency.
You might also hear priming described as “filling the pump,” “charging the pump,” or “removing air from the system.” Regardless of the term, the goal is the same: ensure the pump is completely filled with water before operation.
Why Priming Is Essential
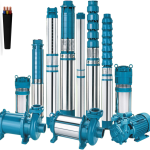
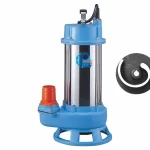
Running a pump without water is risky. It can overheat, damage seals, and even burn out the motor. Proper priming ensures smooth operation, consistent water pressure, and a longer pump lifespan. This is especially important for jet pumps, shallow well pumps, and convertible well pumps, which rely on suction to draw water from the well.
Signs Your Pump Needs Priming
You’ll know it’s time to prime your pump if you notice:
- The pump runs but no water comes out
- Water pressure is inconsistent or unusually low
- The pump sounds louder than normal
- Water flow stops after a power outage
- The pump was recently installed or serviced
If any of these occur, it’s important to stop the pump and begin the priming process to avoid damage.
How to Prime a Pump for Well Water
Priming a pump is straightforward if you follow the right steps:
Step 1: Turn Off the Power
Before you start, switch off the pump at the breaker. This protects you from electrical hazards and prevents motor damage.
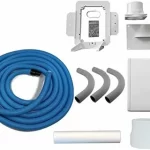
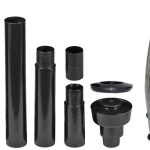
Step 2: Locate the Prime Plug
Most pumps have a small plug or fill port on top. This is where water will be added to prime the pump. Carefully remove the plug with a wrench.
Step 3: Fill the Pump with Water
Slowly pour water into the opening until the pump housing is completely full. If water drains quickly, it may indicate air trapped in the suction line. Continue filling until the water level stabilizes.
Step 4: Replace the Prime Plug
Once the pump is full, securely reinstall the plug. Make sure it’s tight to prevent air from entering, but don’t overtighten.
Step 5: Turn the Power Back On
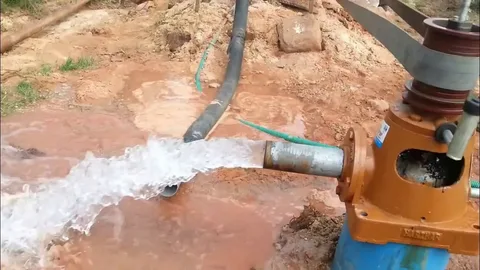
Restore electricity and let the pump run. Within a minute, water should begin flowing and the pressure should stabilize. If the pump still doesn’t deliver water, turn it off and repeat the process.
Troubleshooting: Pump Won’t Hold Prime
Sometimes, priming doesn’t solve the issue. Common causes include:
- Air leaks in the suction pipe
- A faulty check valve or foot valve
- Cracked fittings or loose connections
- Low water level in the well
If your pump repeatedly loses prime, it may require professional inspection or replacement parts from Shawpump.com
Tips to Keep Your Pump Primed
Once your pump is working, simple maintenance can prevent future priming issues. Make sure fittings are tight, check valves function properly, and avoid running the pump dry. Regular inspection and maintenance will save you time, money, and frustration.
Conclusion
Knowing how to prime a pump for well water is essential for any homeowner relying on a well system. It protects your pump, ensures consistent water flow, and extends the lifespan of your equipment. At Shaw Pump, we provide the guidance, parts, and support you need to keep your well system running smoothly.
Priming doesn’t have to be complicated once you follow the proper steps, your pump will deliver reliable water flow day after day.